If you want to create coloring book with story online, the hard part is not only making cute pages. The hard part is keeping the story, page layout, and printable PDF all working together.
That is why I built the Story Coloring Book tool inside InkChamps. You can start with a small story idea, add an optional template image, and generate a story-based coloring book that is easier to review and prepare for Amazon KDP.
In this tutorial, I will walk through the full process using InkChamps.
What you are creating
A story coloring book is different from a normal coloring book.
A normal coloring book can be a set of separate pages around one theme, like dinosaurs, princesses, mandalas, or animals. A story coloring book needs each page to feel connected. The child should be able to color the scene and still follow what is happening in the story.
That means every page needs three things:
- A clear scene to color
- Short text that fits on the page
- A consistent page style from start to finish
InkChamps helps with all three. It turns your story idea into page moments, creates clean coloring art for each moment, and keeps the page setup ready for print.
Step 1: Open the Story Coloring Book tool
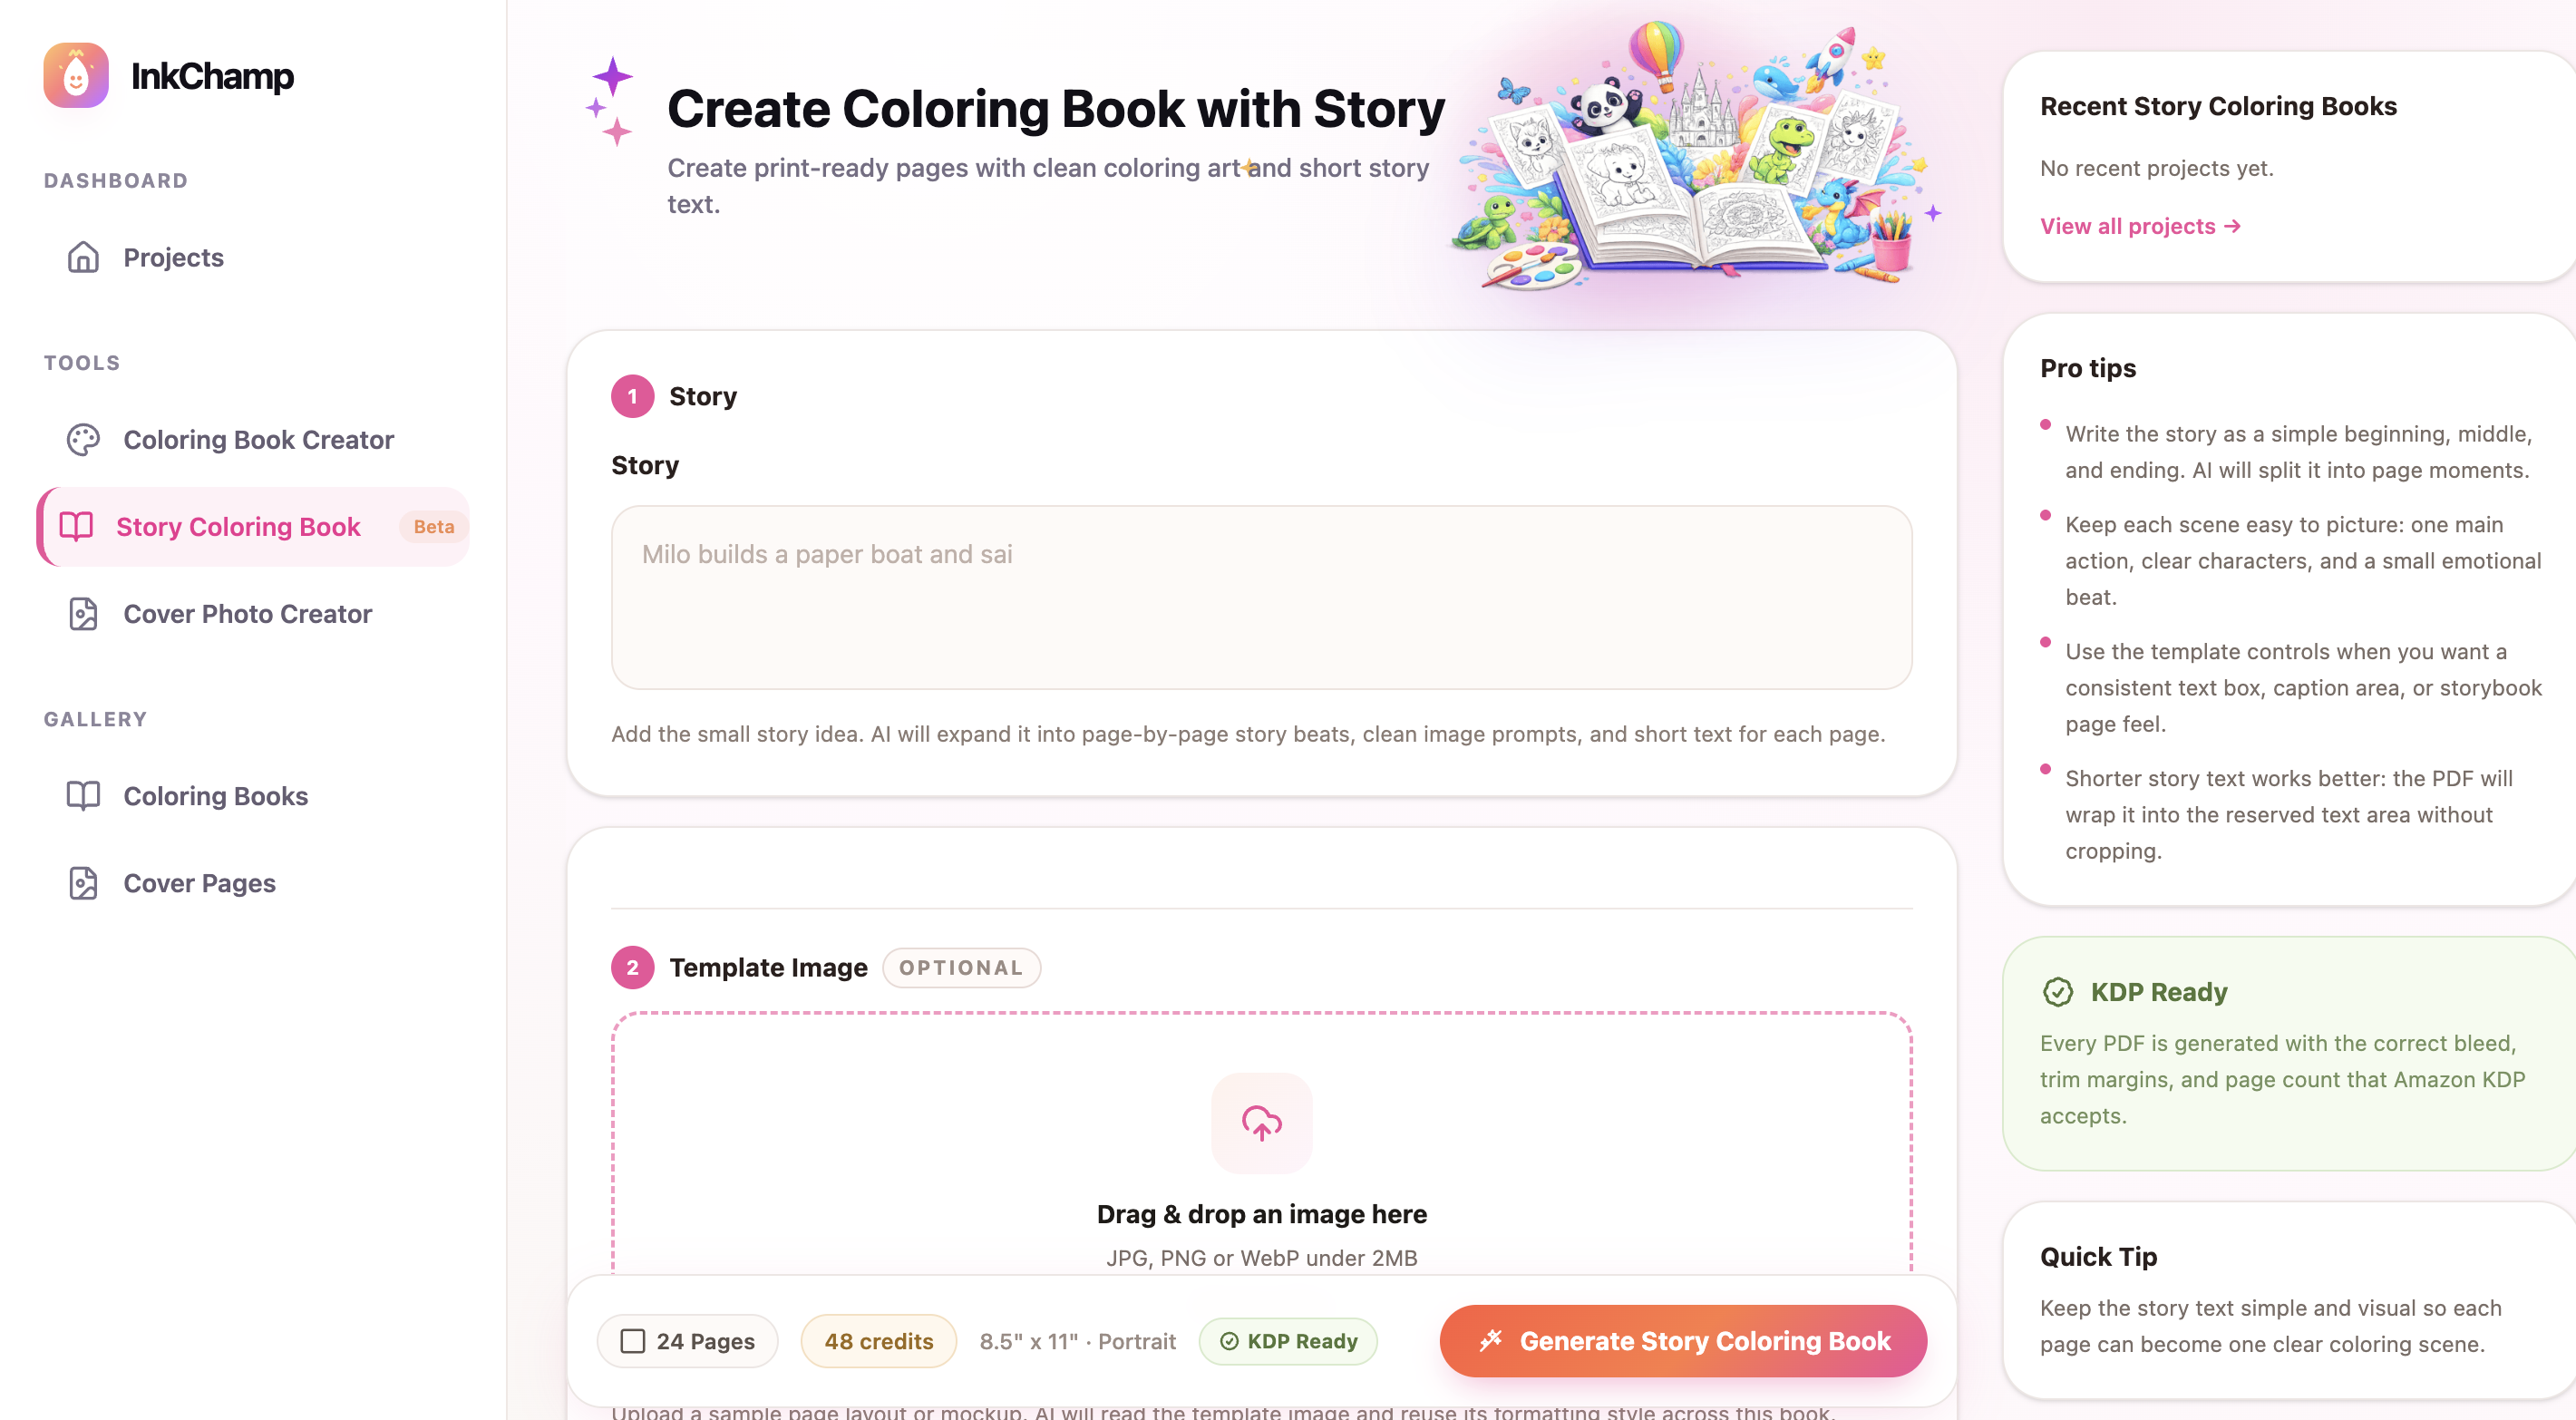
Open the Story Coloring Book tool inside InkChamps.
You will see the create screen with a story box, an optional template image area, page count, trim size, and a Generate Story Coloring Book button.
This first screen is where you give the tool the core idea for your book. Do not overthink it. A simple story works better than a long plot with too many characters.
Good story ideas look like this:
- A small dinosaur gets lost and learns to ask for help
- A girl plants a magic seed and visits the garden each day
- A puppy helps a tiny mouse find its way home
- A young goose gets separated from the pond and follows clues back to its family
The goal is to give InkChamps enough direction so every page can become one clear coloring scene.
Step 2: Write the story in a simple beginning, middle, and ending
Inside the Story field, write a short version of your story. You do not need polished children's book prose at this point. You need structure.
For example:
A little goose named Gigi wanders away from the pond while chasing a butterfly. She meets a turtle, a rabbit, and a kind farmer who each give her a clue. Gigi follows the clues, finds the pond before sunset, and learns to stay close to her family.
That is enough for a first draft.
InkChamps can expand that into page-by-page beats, but the best results usually come from stories that are visual. Each moment should be easy to draw as a coloring page.
Try to avoid:
- Too many characters in one story
- Abstract lessons with no visible action
- Long dialogue scenes
- Complicated timelines
- Text that needs a full page by itself
A good rule is this: if you can picture the scene in one second, it is probably a good coloring book moment.
Step 3: Use a template image if you want a consistent page layout
The template image is optional, but it is very useful when you already know how you want the pages to look.
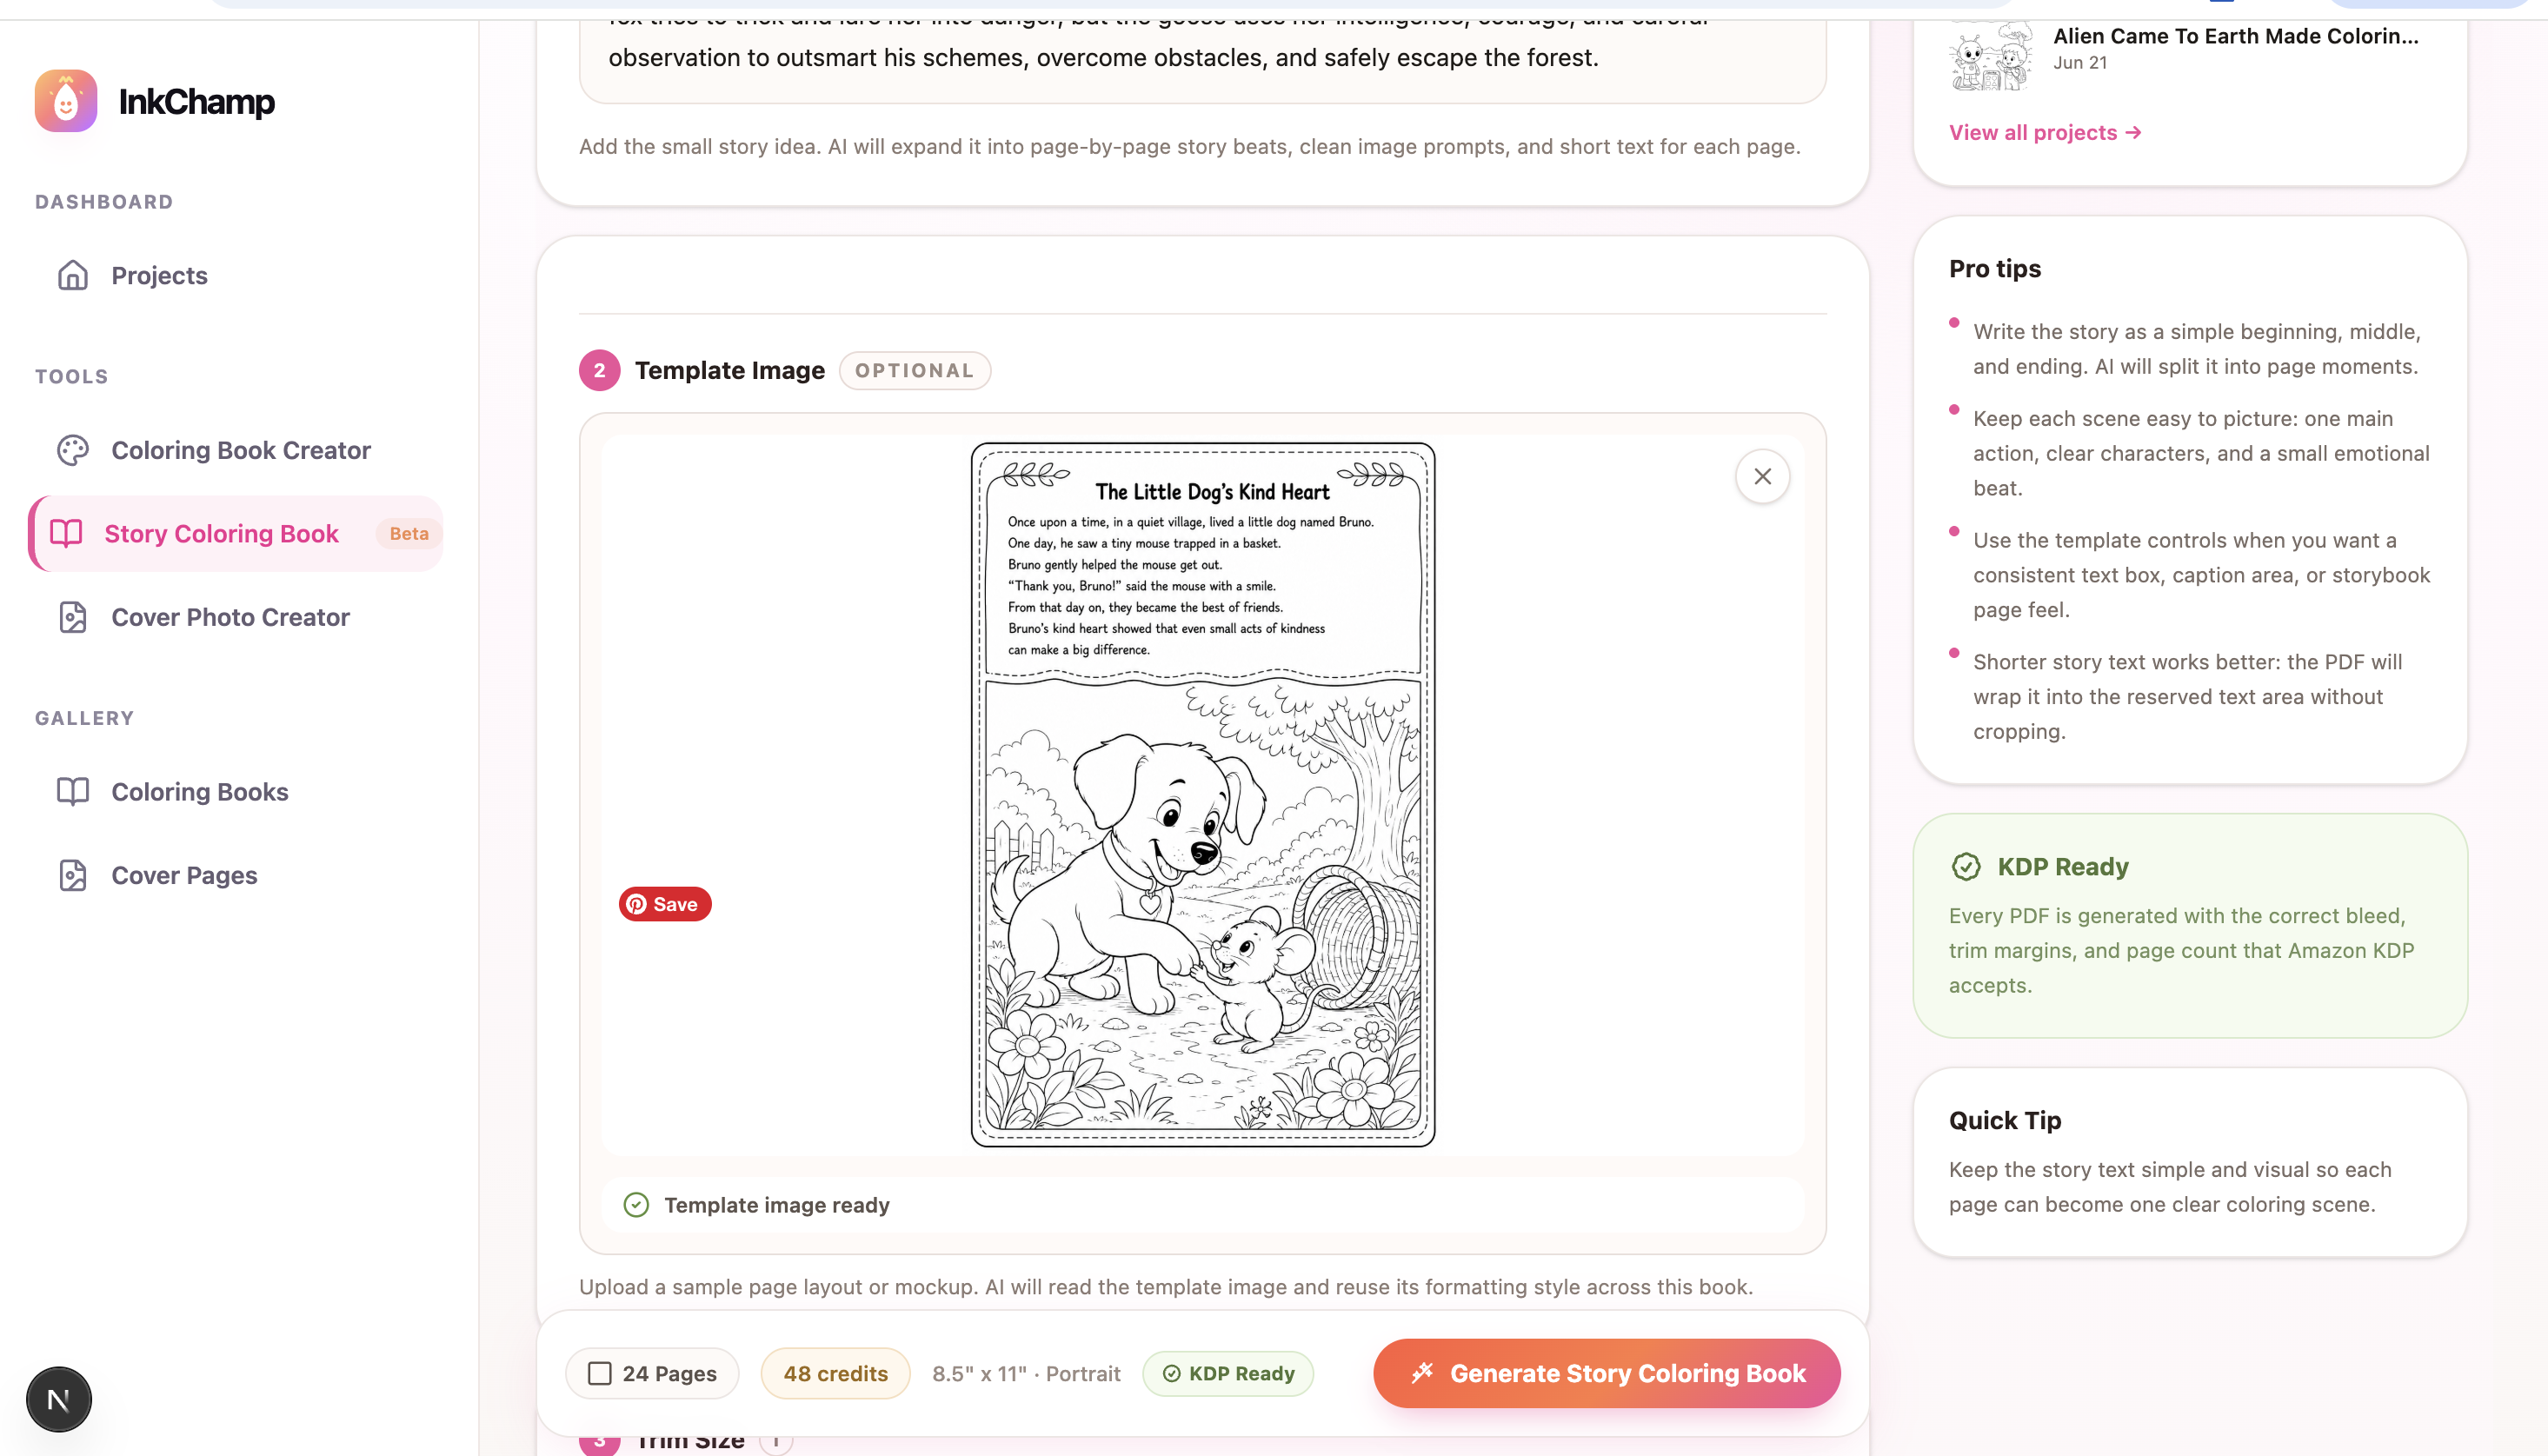
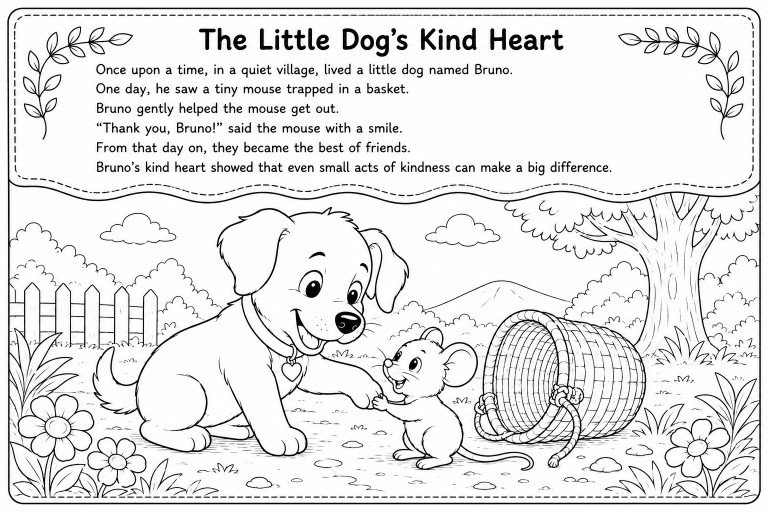
In the screenshot above, the uploaded template shows a page with a text box at the top and the coloring scene underneath. That is a common layout for story coloring books because the child can read a short line first, then color the moment below it.
You can use a template image when you want InkChamps to follow:
- A text box at the top or bottom
- A caption area
- A decorative border
- A storybook page style
- A fixed illustration area
- A sample page you already like
This helps a lot if you are making a book for KDP because consistency matters. If page one has text at the top, page two should not suddenly move the text into the middle. A template gives the tool a layout direction to follow.
You do not need a perfect design file. A clear screenshot or sample page is enough. The important part is that the text area and image area are easy to understand.
Step 4: Choose page count and trim size
Next, choose the page count and trim size.
For story coloring books, I usually recommend starting smaller instead of trying to make a huge book on the first attempt. A 10 to 24 page story is easier to review, and it keeps the story tight.
For trim size, 8.5 x 11 inches portrait is a practical choice for many coloring books. It gives enough room for the illustration and the short story text. It is also familiar for Amazon KDP coloring book interiors.
On the create screen, InkChamps also shows a KDP Ready badge. That means the generated PDF is built around KDP-friendly setup like trim size, margins, bleed, and page structure.
Still, always review the PDF before uploading to KDP. No tool should replace your final check.
Step 5: Check the credits before creating the book
When you click the generate button, InkChamps shows a confirmation screen before it uses your credits.
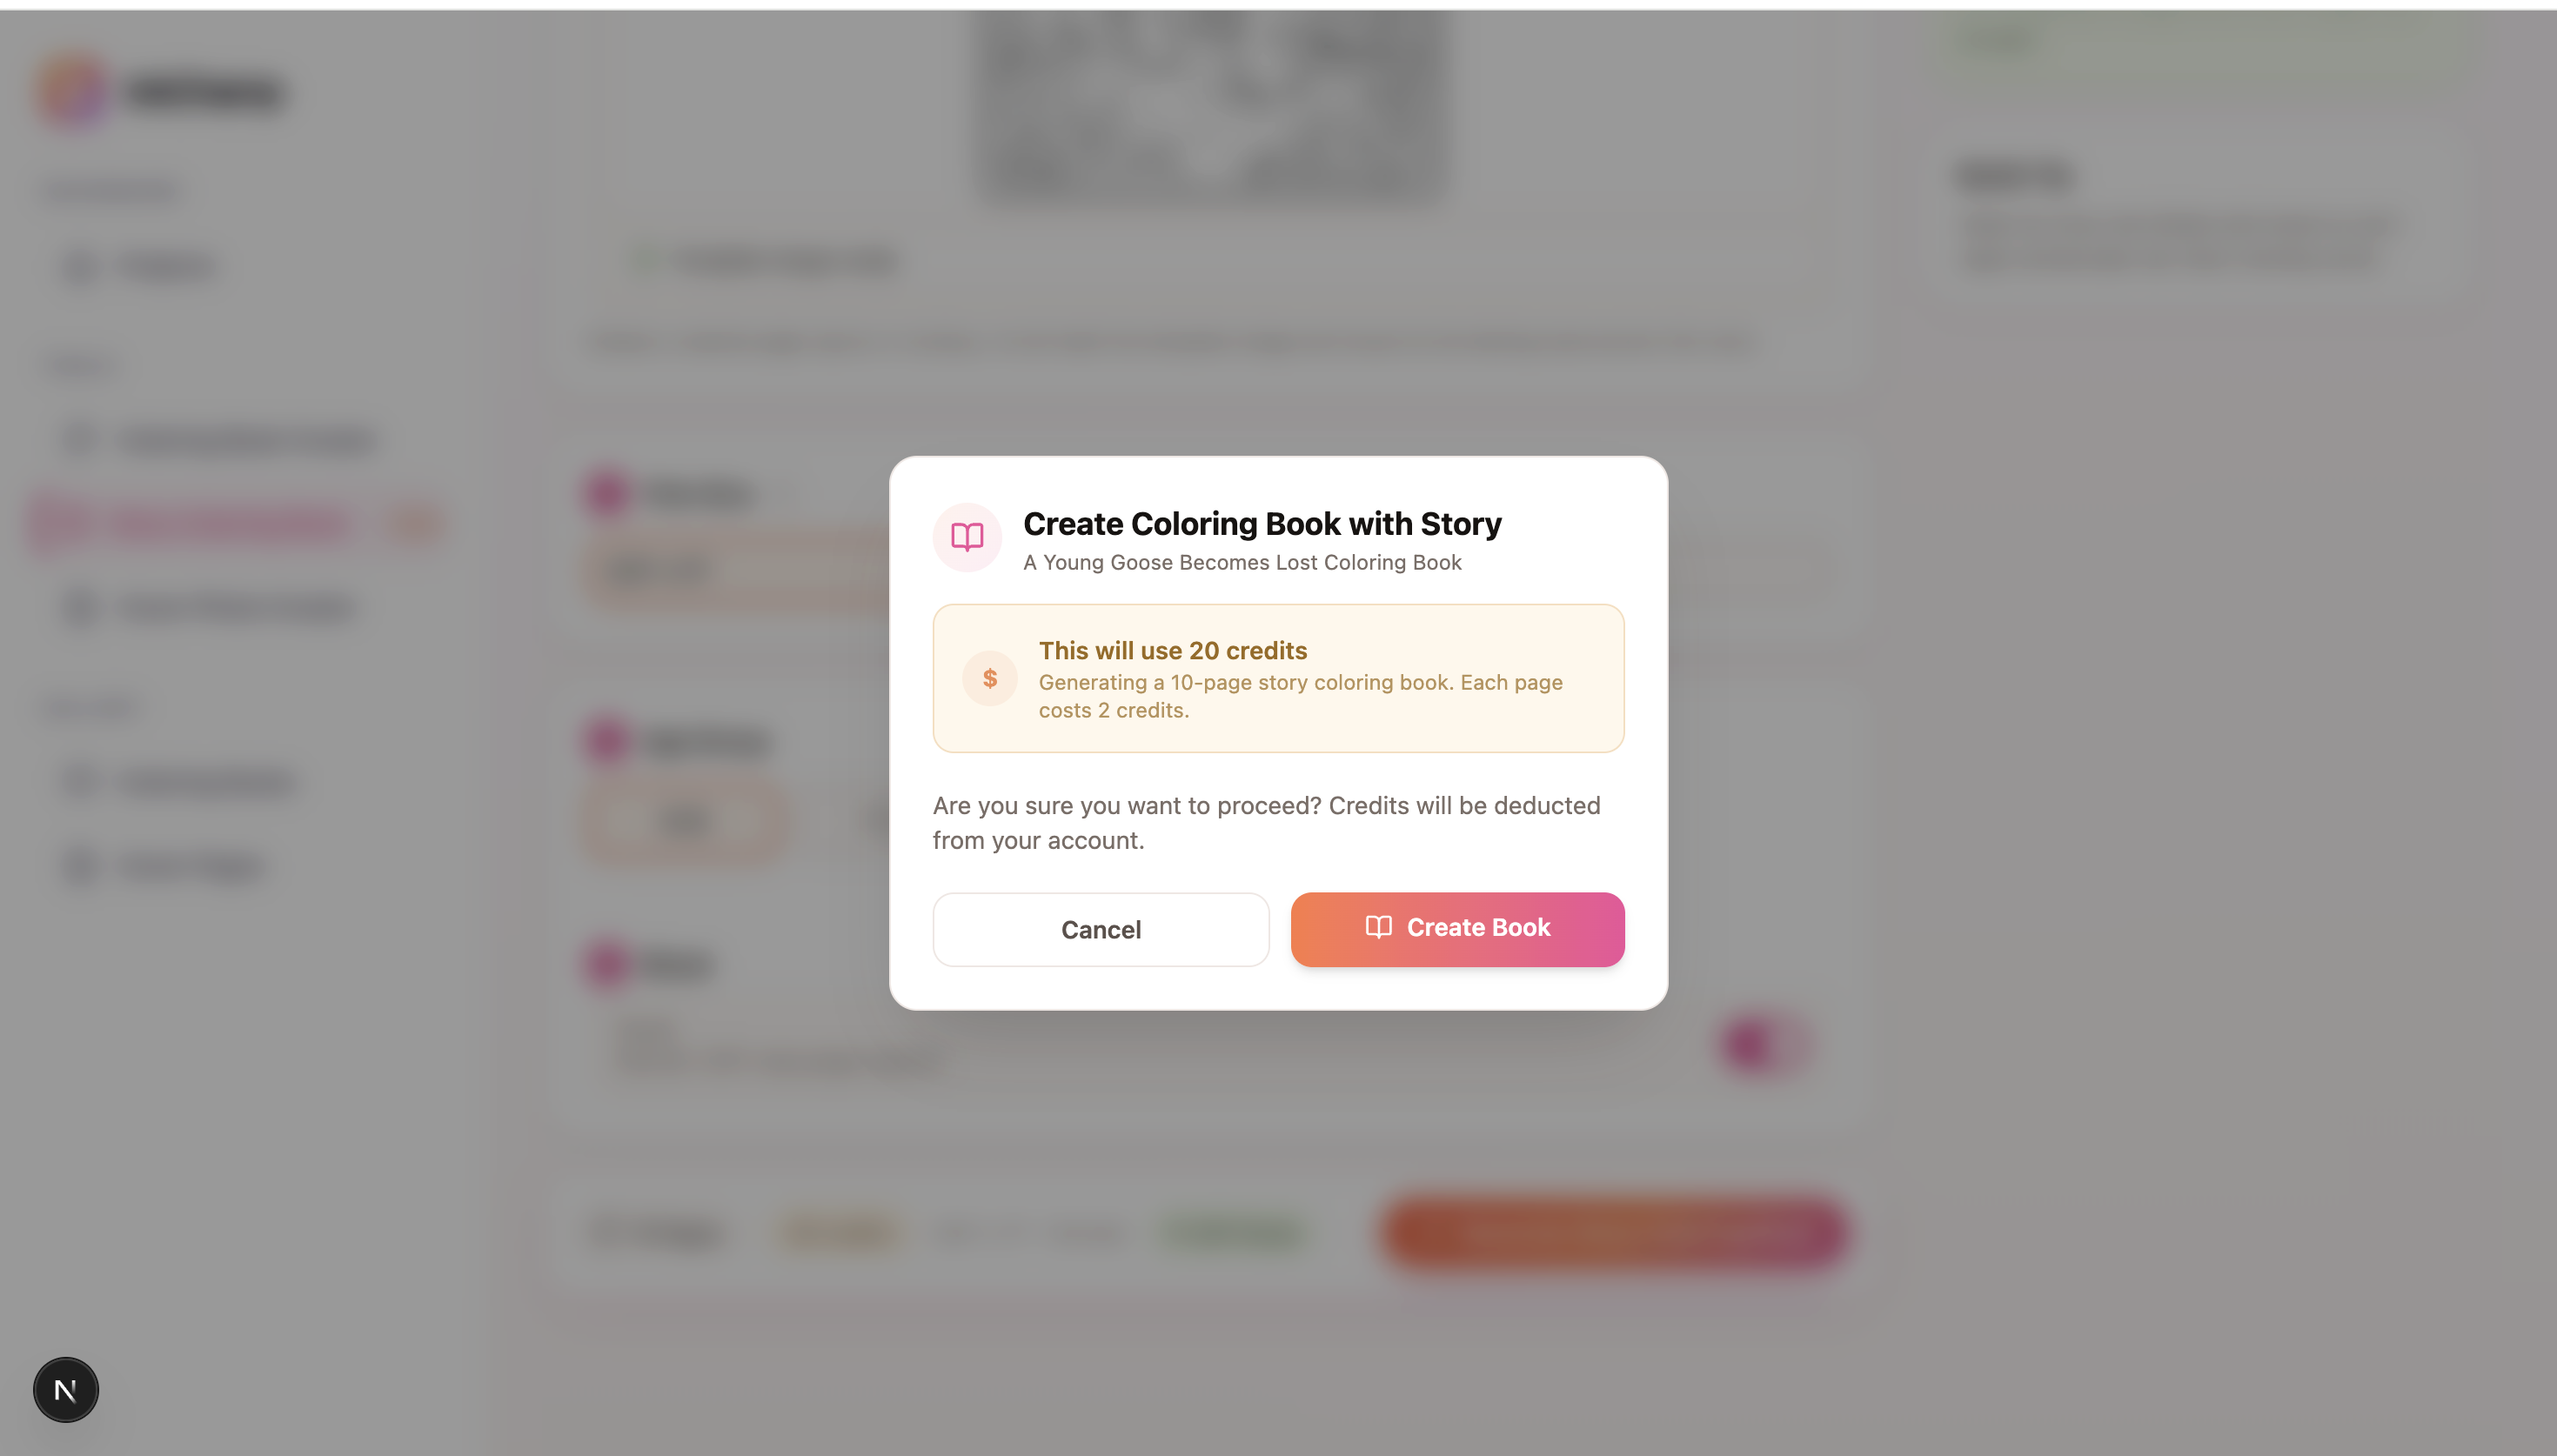
In this example, the book uses 20 credits for a 10-page story coloring book. Story coloring books use 2 credits per page because InkChamps creates both the story text and the coloring scene. A normal coloring book page uses 1 credit per page.
This screen is useful because you know the cost before you continue. If the page count is too high, you can cancel, reduce the number of pages, and generate again when the setup feels right.
The exact credit use depends on the book settings shown in your account, so always check the confirmation message before creating the book.
Step 6: Generate the story coloring book
After you confirm, InkChamps starts creating the book.
It takes your story idea and turns it into:
- Page-by-page story beats
- Short text for each page
- Coloring page prompts
- Clean black-and-white illustrations
- A consistent printable layout
Once the book is ready, review it like a reader, not like a software user. Read the page text in order. Look at whether each image matches the moment. Check that the text is not too long for the reserved area.
If a page feels crowded, shorten the story text. If a character changes too much from page to page, simplify the description in the story prompt and generate again.
Step 7: Review before using it for KDP
Before uploading any story coloring book to Amazon KDP, check these details:
- Are the pages in the correct order?
- Does every page have one clear coloring scene?
- Is the text readable?
- Is the text short enough to fit naturally?
- Are the margins clean?
- Does the PDF match your trim size?
- Does the cover match the story and age group?
For younger children, keep the scenes simple and friendly. For older kids, you can use more detail, but avoid making the page so busy that coloring becomes tiring.
Example story prompt you can use
Here is a simple prompt you can adapt:
Create a gentle children's story coloring book about a little puppy named Bruno who helps a lost mouse find her home. The story should have a clear beginning, middle, and happy ending. Each page should have one simple scene, friendly characters, and short text that fits above the coloring image.
You can change the character, setting, and lesson:
- Jungle adventure
- Space trip
- Garden friendship
- Lost toy story
- Birthday surprise
- Farm animal journey
- Mermaid rescue
The topic matters less than clarity. A clear story makes better coloring pages.
Tips for better story coloring books
Keep the main character consistent. Name the character and describe them in a simple way.
Use one action per page. A child flying a kite is better than a child flying a kite, meeting a dragon, finding a key, and entering a castle all on the same page.
Keep page text short. One or two sentences per page is usually enough.
Use visual emotions. Happy, surprised, worried, proud, and relieved are easy to show in a coloring page.
Avoid tiny background details unless the book is for older kids or adults.
Use a template image when layout matters. It saves time and makes the book feel more professional.
Why this works well for story coloring books
A story coloring book needs rhythm. The reader should feel like every page belongs to the same small journey.
InkChamps helps because the workflow is made for books, not just single images. You are not generating one random coloring page at a time and then trying to glue everything together later. You start with the story, guide the layout, confirm the credits, and create the book as one project.
That is the main reason I recommend this workflow if you want to create coloring book with story online. It keeps the process simple enough for beginners, but still gives you control over the parts that matter.
FAQ
Can I create coloring book with story online without designing every page myself?
Yes. With InkChamps, you can write a short story idea and let the tool split it into page moments, image prompts, and short page text.
Do I need a template image?
No. The template image is optional. Use it only when you want the same page structure, text box, caption area, border, or storybook layout across the book.
Is the story coloring book KDP ready?
InkChamps is designed to generate PDFs with KDP-friendly trim size, margins, bleed, and page setup, but you should still review the final PDF before uploading it to Amazon KDP.
How many credits does a story coloring book use?
The confirmation screen shows the exact credit cost before you create the book. In the example screenshot, a 10-page story coloring book uses 20 credits. Story coloring books use 2 credits per page, compared with 1 credit per page for a normal coloring book.
Final thoughts
If this is your first story coloring book, start with one simple character and one clear journey. Upload a template image if you care about the page layout, choose a modest page count, and review every page before publishing.
You can make the process much easier by starting with the Story Coloring Book tool inside InkChamps.
Ready to publish your own coloring book?
InkChamps handles the interior, cover, and KDP formatting — all in one shot.
Create your coloring book