
A good Christian coloring book gives children more than pictures to fill with color. It creates a calm space where a family, teacher, or Sunday school group can talk about faith through a story. For this guide, we will build a Bible themed book around the Good Samaritan from Luke 10:25-37, with compassion as the central value.
The goal is not to reproduce a Bible translation word for word. The goal is to retell the story visually and give children a memorable way to practice its lesson: notice a person in need, show mercy, and take helpful action.
The project at a glance
- Story: The Good Samaritan, Luke 10:25-37
- Core Christian value: Compassion
- Audience: Ages 6 to 13
- Suggested length: 12 coloring pages
- Visual direction: Clear black line art, large spaces, peaceful expressions, and a respectful historical setting
- Finished use: Family devotion time, Sunday school, homeschool, church activity tables, or a thoughtful gift
A focused theme makes the book feel intentional. Children can follow one story from beginning to end, and the adults guiding the activity have a natural opening for conversation.
Step 1: Choose one story and one value
Start with a single passage instead of trying to summarize an entire book of the Bible. The Good Samaritan is especially effective because the action is easy to understand: a traveler is hurt on the road, several people pass by, and one person stops to help.
Choose one main value to repeat throughout the book. Here, that value is compassion. You can describe it in child friendly language as noticing someone who needs help and responding with care. A single value also helps keep the prompts, page order, cover, and discussion questions connected.
Before opening the creator, write down three decisions:
- What Bible story will the pages follow?
- What value should a child remember after coloring?
- What gentle action can a child practice this week?
For this project, the answers are the Good Samaritan, compassion, and helping someone who needs kindness.
Step 2: Plan the coloring pages before generating
A short page plan prevents the book from becoming a collection of unrelated Bible scenes. Use one simple visual beat per page. Here is a 12-page sequence you can adapt:
- A quiet road through the countryside
- The traveler beginning the journey
- The traveler resting after a difficult moment, shown without graphic details
- A passerby noticing the scene but continuing on
- Another passerby choosing not to stop
- The Samaritan seeing the traveler
- The Samaritan kneeling down to offer care
- A close, peaceful scene of clean bandages and a kind expression
- The Samaritan helping the traveler continue to a safe inn
- The innkeeper welcoming them
- A community scene showing people helping one another
- A reflection page with the prompt, “Who can I help today?”
This sequence gives the book a beginning, middle, and ending. It also avoids making the difficult part of the story frightening for younger children. The central visual is not the injury. The central visual is the choice to stop and care.
Step 3: Write a prompt that protects the message
The description is where you explain the story, audience, style, and boundaries. Here is a strong starting prompt for the InkChamps coloring book maker:
Create a Bible themed Christian coloring book for children ages 6 to 13 inspired by the parable of the Good Samaritan in Luke 10:25-37. Create 12 connected pages that follow the story from the road, to the traveler in need, to the Samaritan offering compassionate care, and end with a child friendly reflection about loving your neighbor. Use clean black outlines, large open spaces for crayons and colored pencils, simple historical clothing, peaceful facial expressions, and a respectful ancient road setting. Keep the traveler safe and non-graphic, with no blood, frightening injuries, weapons, or scary imagery. Keep the characters visually consistent across pages. Use a pure white background, no gray shading, no filled color, and no text inside the illustrations.
Notice how the prompt handles both creativity and care. It gives the generator enough direction to make a coherent book, while the safety details help keep the message appropriate for children. If you want a page with a written reflection, add that as a separate layout request rather than asking the image itself to generate small text.
Step 4: Open the InkChamps Coloring Book creator
On the production dashboard, open the Coloring Book creator. The interface gives you a Theme field, a Description box, audience buttons, a page count, and a generation button. If a preset theme does not fit the story, use the description box to provide the Bible focused direction yourself.

For this project, choose Ages 6 to 13. That range leaves enough room for generous coloring shapes while still allowing a little more story detail than a preschool page. Set the book to 12 Pages so the story has room to develop without becoming tiring.
Do not overfill the description with every possible lesson. The story, value, art style, and audience are enough to start. You can create a second book later about another story rather than asking one book to cover everything.
Step 5: Make the artwork easy and enjoyable to color
Bible themed art works best when children can quickly understand the scene. Ask for bold outlines, clear silhouettes, large areas, and a calm composition. A child should be able to tell who is helping whom before they begin coloring.
Keep these choices in mind:
- Use one main action per page.
- Leave open space around people, roads, buildings, and plants.
- Use repeated clothing details so the characters feel like the same people across the story.
- Avoid crowded backgrounds that turn every page into a tiny puzzle.
- Use gentle visual language for hardship, with no graphic details.
- Keep text out of the generated art so titles and reflection prompts can be edited cleanly later.
The most beautiful page is not always the most detailed page. In a children's coloring book, clarity is part of the design.
Step 6: Generate, then review with a teacher's eye
After you submit the description, review the full set before printing or sharing it. Look for more than spelling and line quality. Check whether the pictures actually communicate compassion.
Use this review checklist:
- Does the page order follow the Good Samaritan story?
- Is the Samaritan shown helping through practical action?
- Are the traveler and other characters treated with dignity?
- Are the scenes peaceful enough for the intended age group?
- Do the main characters look consistent from page to page?
- Are the outlines dark, clean, and easy to color?
- Is there enough white space around the artwork?
- Are there any accidental modern objects, confusing symbols, or unwanted text?
- Will the page print without important artwork touching the edge?
If one page misses the message, revise that page or regenerate it. A thoughtful review is what turns a quick image set into a book that families will want to use again.
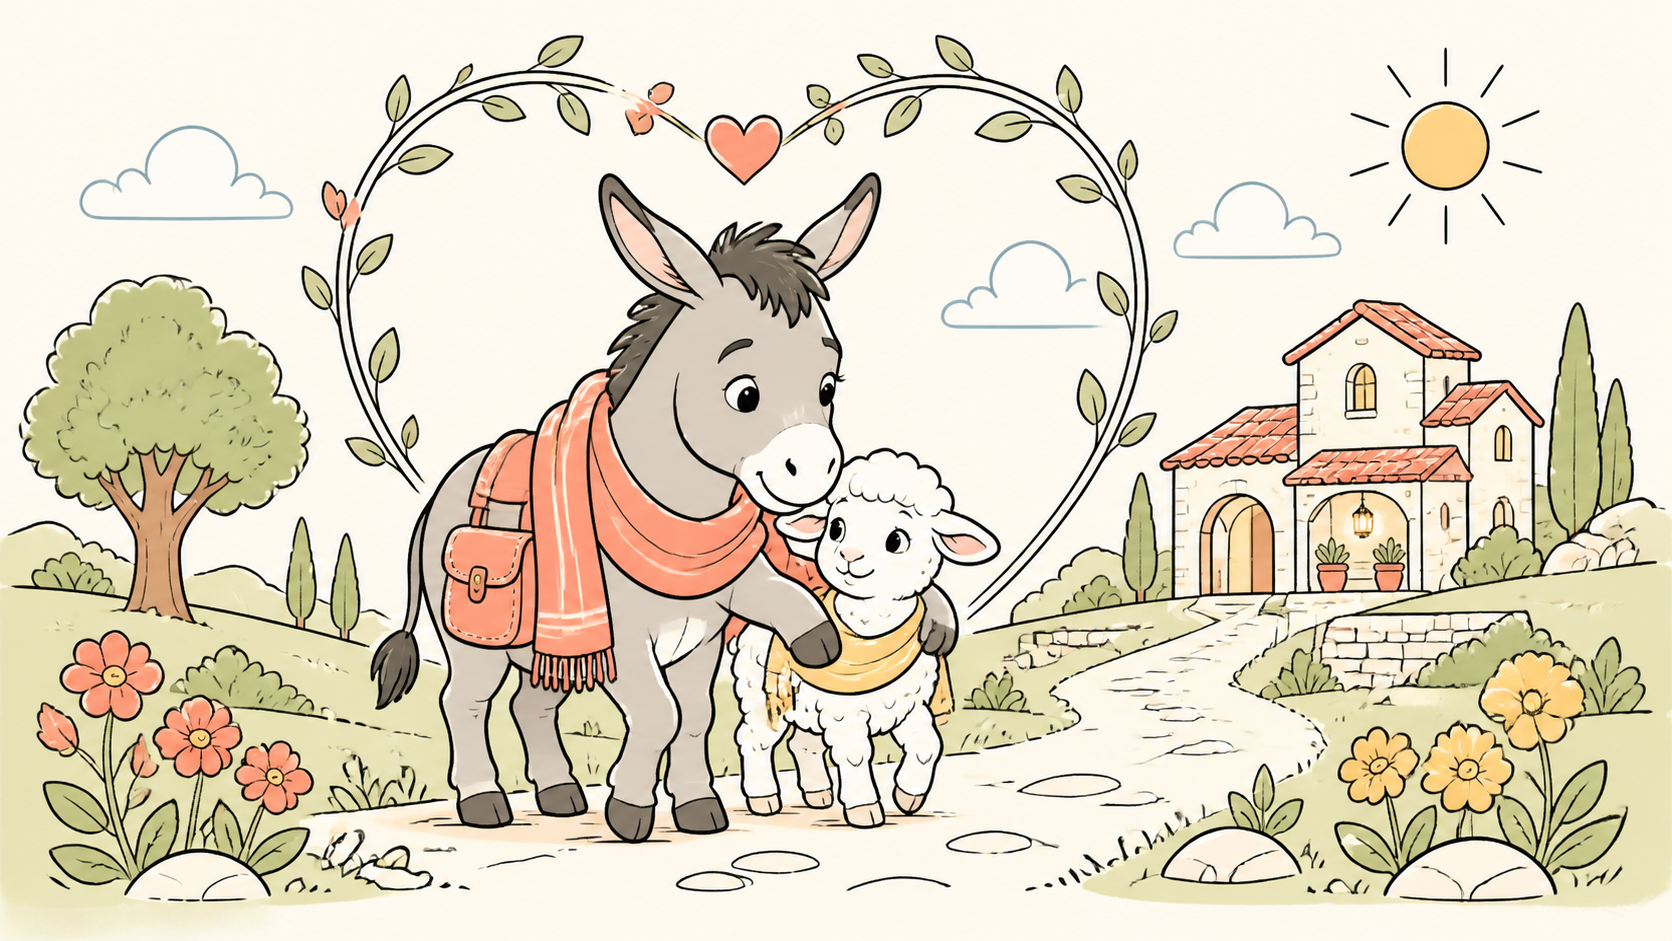
This gentle animal scene mirrors the book's central idea: compassion is shown through practical help. It gives the cover and preview a warm visual connection to the value children are learning.
Step 7: Add a meaningful cover and reflection page
A cover gives the book a clear invitation. Try a warm title such as A Neighbor Who Cared or Love Your Neighbor: The Good Samaritan Coloring Book. Pair it with one friendly scene, such as the Samaritan offering water or helping the traveler toward a safe place.
Inside the book, reserve the last page for reflection. Children can color a simple heart, helping hands, or a peaceful village scene while answering one question:
Who can I help today?
For older children, add two more questions beneath the artwork:
- What did the Samaritan notice?
- What is one kind action I can take at home, school, or church?
These prompts move the lesson from a page into real life. The purpose of the coloring book is not only to keep little hands busy. It is to make compassion easier to remember and easier to practice.
Step 8: Print it for a family or church activity
Print the pages single-sided if children will use markers. Standard letter paper works well for home use, and slightly heavier paper feels special for a Sunday school packet or gift. Add crayons, colored pencils, or washable markers, then give the group a short introduction before they begin.
You might say: “As we color, let us look for the moments when someone chooses to care.” That sentence is enough to give the activity a purpose without turning it into a long lesson.
After coloring, invite each child to share one detail they noticed and one kind action they could take. Keep the conversation open and practical. A child might suggest helping a classmate, welcoming a new student, sharing supplies, or checking on a family member.
Three Christian values this book can reinforce
Compassion begins with noticing
The story begins when the Samaritan sees the traveler. Children can learn that kindness often starts with paying attention to the people around them.
Mercy becomes real through action
The Samaritan does not only feel sorry for the traveler. He offers care, transportation, time, and resources. This gives children a concrete picture of mercy.
Neighborly love crosses boundaries
The parable challenges assumptions about who deserves care. It invites children to treat people with dignity even when they seem different from them.
Frequently asked questions
Why is the Good Samaritan a strong theme for a Christian coloring book?
The story gives children a clear picture of compassion in action. It shows that loving a neighbor means noticing someone in need, offering help, and treating every person with dignity.
What age group works best for this Bible coloring book?
Ages 6 to 13 work well because children can enjoy the illustrations while also discussing the story's main idea. Use simpler prompts and fewer details for younger children, and add reflection questions for older children.
Should I place Bible verses on every coloring page?
Not necessarily. A short reference such as Luke 10:25-37 and a simple reflection prompt can keep the pages uncluttered. If you include verse text, use a Bible translation and permissions appropriate for your project.
How can I keep the illustrations respectful and child friendly?
Describe the injured traveler with gentle, non-graphic details. Ask for peaceful expressions, clean outlines, historically inspired clothing, and no blood, frightening injuries, weapons, or sensational scenes.
Can I use this workflow for other Bible stories?
Yes. The same structure works for stories such as Noah's ark, David and Goliath, Ruth's loyalty, or the lost sheep. Choose one story, one value, and a short sequence of scenes before generating.
Final thoughts
A Christian coloring book becomes meaningful when the story, artwork, and conversation point in the same direction. Choose one Bible passage, name one value, plan a short visual sequence, and review every page with care. The result can be a simple activity book that helps children slow down, create something beautiful, and remember that love is something we practice.
Ready to create a Christian coloring book?
Choose a Bible story, describe the value you want children to remember, and create a print ready coloring book for your family, classroom, or church group.
Create your Bible themed coloring book