
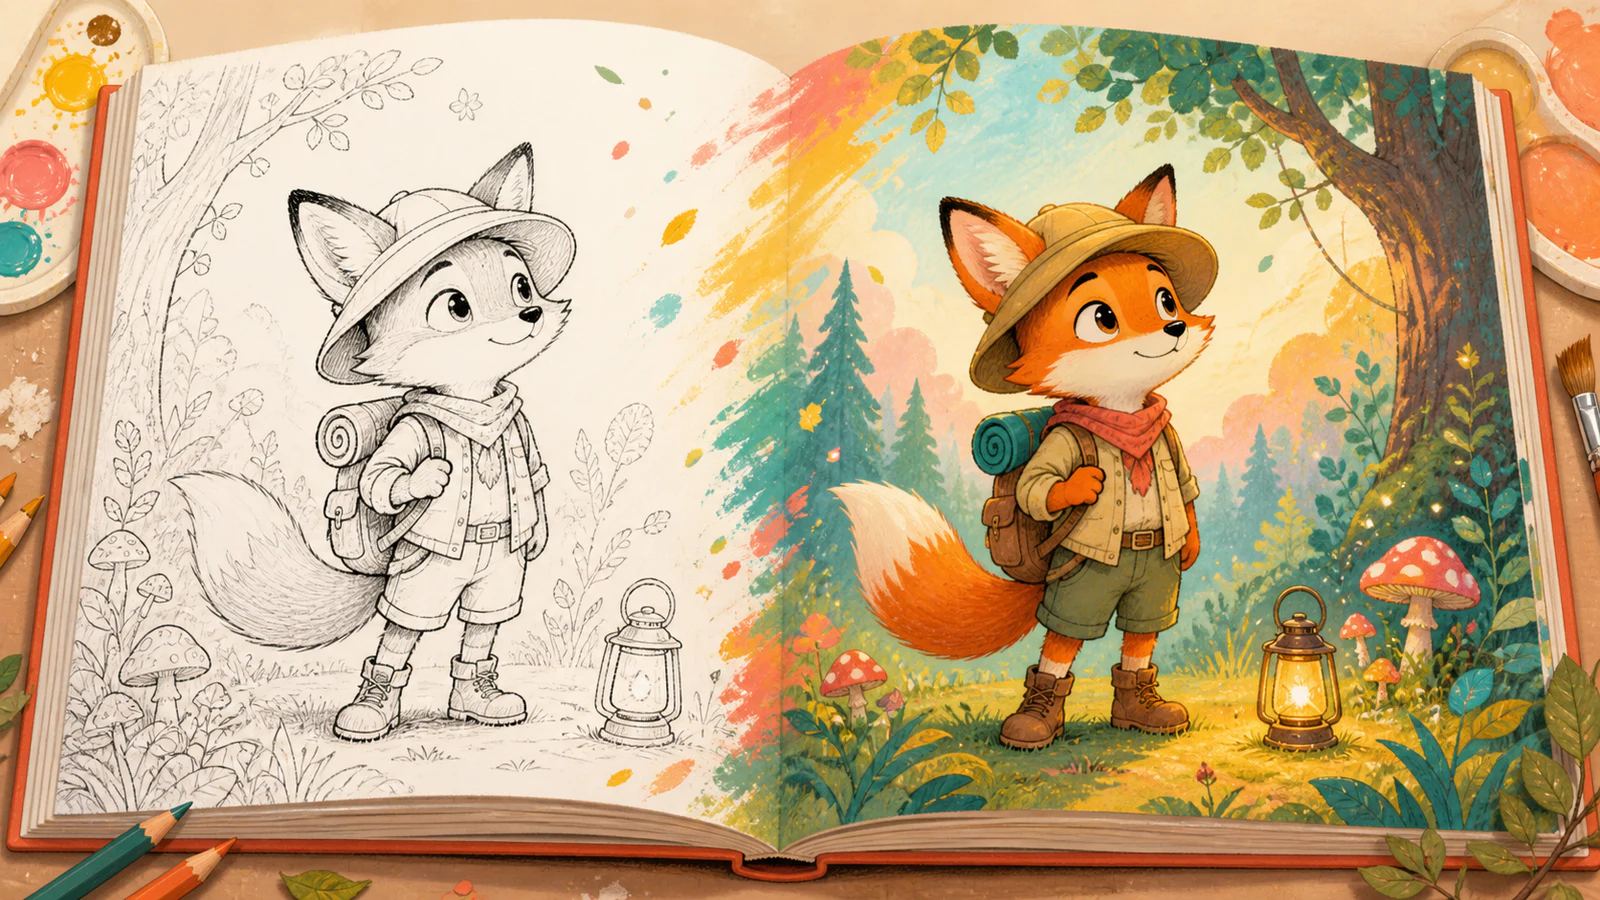
If you have a children's story sitting in a document, the jump from words to a real picture book can feel enormous. You are not only looking for pretty images. You need the same character to look familiar on every page, each scene to match the words, and enough empty space for the text to breathe.
That is the part I wanted to simplify with the InkChamps Illustrative Story Book creator. You bring the story, or even a rough idea, and InkChamps turns it into page sized scenes that you can review before the full color illustrations are made.
This tutorial shows exactly how to illustrate a children's story with AI in InkChamps, from the first draft to the printable PDF.
Before you illustrate anything, make the story visual
A story can read beautifully and still be difficult to illustrate. The usual problem is that too much happens at once.
Consider this sentence:
Milo ran through the village, remembered his grandmother's warning, found a silver key, and decided to climb the mountain before dark.
That is four picture moments packed into one line. A single illustration would either feel crowded or leave most of the sentence unseen. It is much easier to turn those actions into separate beats: Milo running through the village, Milo finding the key, and Milo looking toward the mountain.
Before opening the creator, give your story a quick visual pass. Look for:
- One main action per scene
- A clear setting the reader can recognize
- A small cast of recurring characters
- Visible emotions such as worry, wonder, pride, or relief
- A beginning, a change in the middle, and a satisfying ending
You do not need to divide the story into pages yourself. InkChamps can do that. You only need to make sure the important moments can actually become pictures.
Step 1: Open the Illustrative Story Book creator
From the InkChamps dashboard, choose Illustrative Story Book. This is the full color story tool, not the Story Coloring Book tool.
You will see three ways to begin:
- Write it here lets you paste or type a story you already have.
- Upload a file accepts a TXT or PDF under 1 MB.
- Generate with AI starts from a story idea and develops the draft for you.
If your manuscript is already written, I would paste it into the first option. It is the fastest way to spot odd spacing or missing paragraphs before generation. Upload is helpful for a longer draft that is already saved as a clean file. The AI option is best when you have a character, lesson, or ending in mind but not the full prose.
Add a book title if you have one. It is optional, but a clear working title makes the project much easier to find in your dashboard later.
Step 2: Give the story enough direction
If you are pasting a finished manuscript, keep your wording. InkChamps prepares it for illustration, but you still get a review step before the art begins.
If you choose Generate with AI, write a compact brief that covers the character, goal, obstacle, feeling, and ending. Here is a prompt you can adapt:
A shy fox cub named Pip finds a lantern that only glows when he helps someone. He crosses a rainy forest, helps three animals, and reaches home with the lantern shining. Write for ages 3 to 6 with a warm ending and one clear action per page.
That prompt works because I can already imagine the pictures. Pip has a recognizable prop, the forest gives the book a visual world, and each helpful act can become its own scene.
Avoid filling the prompt with camera instructions or art jargon. Story comes first here. You will choose the visual style in the next section.
Step 3: Pick one illustration style for the whole book
InkChamps shows the same sample scene in each available style, which makes comparison easier. You can preview a style at full size before choosing it. Options include 2D Hand-Drawn, Anime, Comic Book, Colored Pencil, and Paper Cutout.
Choose based on the feeling of the story, not only on which thumbnail looks most detailed. A soft colored pencil finish can suit a bedtime story. Comic book art can carry movement and adventure. Paper cutout art can make a simple story feel playful and tactile.
The important choice is consistency. Mixing unrelated styles inside one book usually makes the project feel like a folder of separate images. One style, one palette, and one character design will make the pages feel connected.
Next, choose the target age group:
- Ages 3 to 6 for simple sentences and large, direct images
- Ages 6 to 13 for short paragraphs and richer scenes
- Ages 13 to 18 for longer text and more detailed art
The age setting is not a judgment about the idea. It helps the tool balance the amount of text and visual complexity on each page.
Step 4: Add a character reference if the hero must stay consistent
Character consistency is where many AI illustrated books fall apart. The hero has a red scarf on page one, no scarf on page four, and a completely different face by the ending. Readers notice that immediately.
The optional Character Reference section gives InkChamps a stable anchor. You can upload a character sheet or enter character details.
For a useful character sheet, include:
- One clear front view
- The full outfit and its main colors
- Hair, fur, or skin color
- A distinctive item such as glasses, a hat, backpack, or scarf
- Simple proportions that can be repeated in many poses
A plain background is better than a busy scene. The reference is there to explain the character, not the plot. If you do not have an image, the details option is still useful. Write short, concrete traits such as “small orange fox, cream muzzle, round green backpack, red neckerchief, tan explorer hat.”
Step 5: Choose the maximum pages and print setup
Set the Maximum pages value to the longest book you are comfortable creating. This is a ceiling, not a promise that the story will be stretched to fill every page. InkChamps splits the story into as many pages as it needs, up to that number.
For a first picture book, eight to twelve story pages is a manageable place to begin. It gives the plot room to move without making the review tedious. A generated character introduction page is added to the story pages.
Open Advanced options before you continue. Here you can choose:
- Image on top with text below, or text on top with image below
- The trim size for the finished book
- Whether artwork should extend into the bleed area
Turn bleed on when you want the illustration to reach the edge after trimming. Keep important faces, text, and story details away from that outer area. If you are planning to publish, confirm the required trim and bleed settings with your printer or publishing platform before you generate the final book.
Step 6: Generate the story draft before the art
Click Generate Story Book and review the confirmation. The first phase does not rush straight into final art. It analyzes the manuscript and prepares the page by page story for your approval.
When the draft is ready, open Review Story. Read the pages from beginning to end without looking at them as isolated snippets. Ask yourself:
- Does each page contain one clear picture moment?
- Does the action move forward from the previous page?
- Is any page carrying too much text?
- Does a pronoun become confusing after the story is split?
- Is the ending given enough room?
You can edit the text directly on any page. This is the best time to shorten a crowded paragraph, restore a missing detail, or move an important reveal into clearer language.
If the draft is good, choose Approve As-Is. If you changed the text, choose Save & Approve. Both options show the resolved story page count and the exact credit cost before illustration begins.
InkChamps uses 2 credits for each rendered illustration. The total includes one character introduction page in addition to the story pages. For example, an 8 page story produces 9 illustrations and uses 18 credits. Credits are committed after you approve the draft.
Step 7: Review the finished illustrations like an editor
Once the full color pages are ready, read the book again. This time, check the relationship between image and text.
Start with the main character. Their face, outfit, colors, and scale should feel stable throughout the book. Small changes in pose or expression are good. Changes in identity are not.
Then check the scene itself:
- Does the picture show the action described on that page?
- Is the emotion clear without needing the sentence to explain it?
- Is the text readable against the page background?
- Are important details away from the trim edge and gutter?
- Does the color palette feel like one book from beginning to end?
Finally, download the printable PDF and open the actual file. Check every page at normal reading size. A layout that looks fine as a small dashboard preview can still reveal cramped text or an awkward crop in the final document.
A simple workflow for stronger AI story illustrations
The tool can handle a lot, but a few human decisions make the result much better.
First, describe what stays the same. A short list of permanent character traits is more useful than a paragraph of poetic description.
Second, let each page do one job. One page can introduce the problem. The next can show the attempt to solve it. The next can reveal the consequence. Clear pacing gives the illustrations room to communicate.
Third, review the words before paying for the final art. A beautifully rendered scene cannot rescue a confusing page break. The review stage exists so you can solve the inexpensive problems first.
Last, judge the finished book as a sequence. A picture book is not ten posters. Page turns, repeated colors, changing expressions, and the visual distance between characters all help tell the story.
FAQ
Can AI illustrate a story I have already written?
Yes. Choose Write it here to paste your manuscript or Upload a file to add a TXT or PDF. InkChamps splits it into page sized scenes and lets you review the text before creating the final illustrations.
How do I keep a character consistent across every page?
Use the Character Reference section. Upload a simple character sheet with a clear outfit and color palette, or enter the same details in text. Keep the design distinctive but not overloaded with tiny accessories.
What is the best illustration style for a children's story?
Choose a style that supports the mood and remains readable for the target age. Gentle stories often work well in hand drawn or colored pencil styles. Action stories can carry stronger comic shapes. Whatever you choose, keep it consistent across the book.
Can I review the story before using credits for illustrations?
Yes. The page by page story is prepared first. You can edit it, see the resolved page count, and review the credit total before you approve the illustration stage.
Is the finished story book ready to print?
InkChamps creates a printable PDF using the trim size, page layout, and bleed setting you selected. You should still open the final PDF and check page order, margins, text, image crops, and platform requirements before publishing.
Final thoughts
Learning how to illustrate a children's story is really about learning to see the story as a sequence of pictures. The AI can produce the artwork, but your choices about character, pacing, age, and page breaks are what make the result feel like a book.
Start with one clear hero and a short journey. Pick a style that fits the feeling. Review every word before you approve the art. That small pause between writing and illustration is where most of the quality comes from.
Frequently asked questions
- Can I review the story before InkChamps uses credits for illustrations?
- Yes. InkChamps prepares the page by page story first. You can edit the text and see the resolved page count before approving the illustration stage. Credits are committed after you approve the story.
Ready to illustrate your story?
Bring a finished manuscript, upload a file, or start with one small idea. Review the words first, then turn them into a full color story book.
Illustrate your story