
How to Create Homeschool Coloring Pages for Any Lesson
Homeschooling means you are the curriculum department, the printer, and the art supply closet all at once. Coloring pages are one of the easiest ways to reinforce a lesson without writing a single worksheet by hand, whether you are teaching the alphabet, practicing counting, or covering geography and science.
I used InkChamps to build a set of homeschool coloring pages this week, starting with an alphabet book for my youngest. Here is exactly how it works, screenshots included.
Why coloring pages work for homeschool lessons
A coloring page is a worksheet a kid actually wants to finish. Instead of a blank page of letters to trace or numbers to write, you get:
- A visual anchor for the lesson — a letter, a number, a country, a planet, tied to a picture they can color in.
- Independent work time — once the page is printed, a 4-to-9-year-old can work through it without you standing over their shoulder.
- A finished thing to be proud of — a colored page goes on the fridge in a way a math drill sheet never does.
The trick is generating pages that match the specific lesson you are teaching that week, not just grabbing whatever generic coloring sheet is free online.
Step 1: Describe the lesson, not just a theme
Open the Coloring Book creator and skip the theme dropdown if none of the presets fit — the Description box is where the actual lesson goes. I was teaching the alphabet, so I described exactly what I wanted: one letter per page, a simple matching animal, thick outlines, and the target age group.
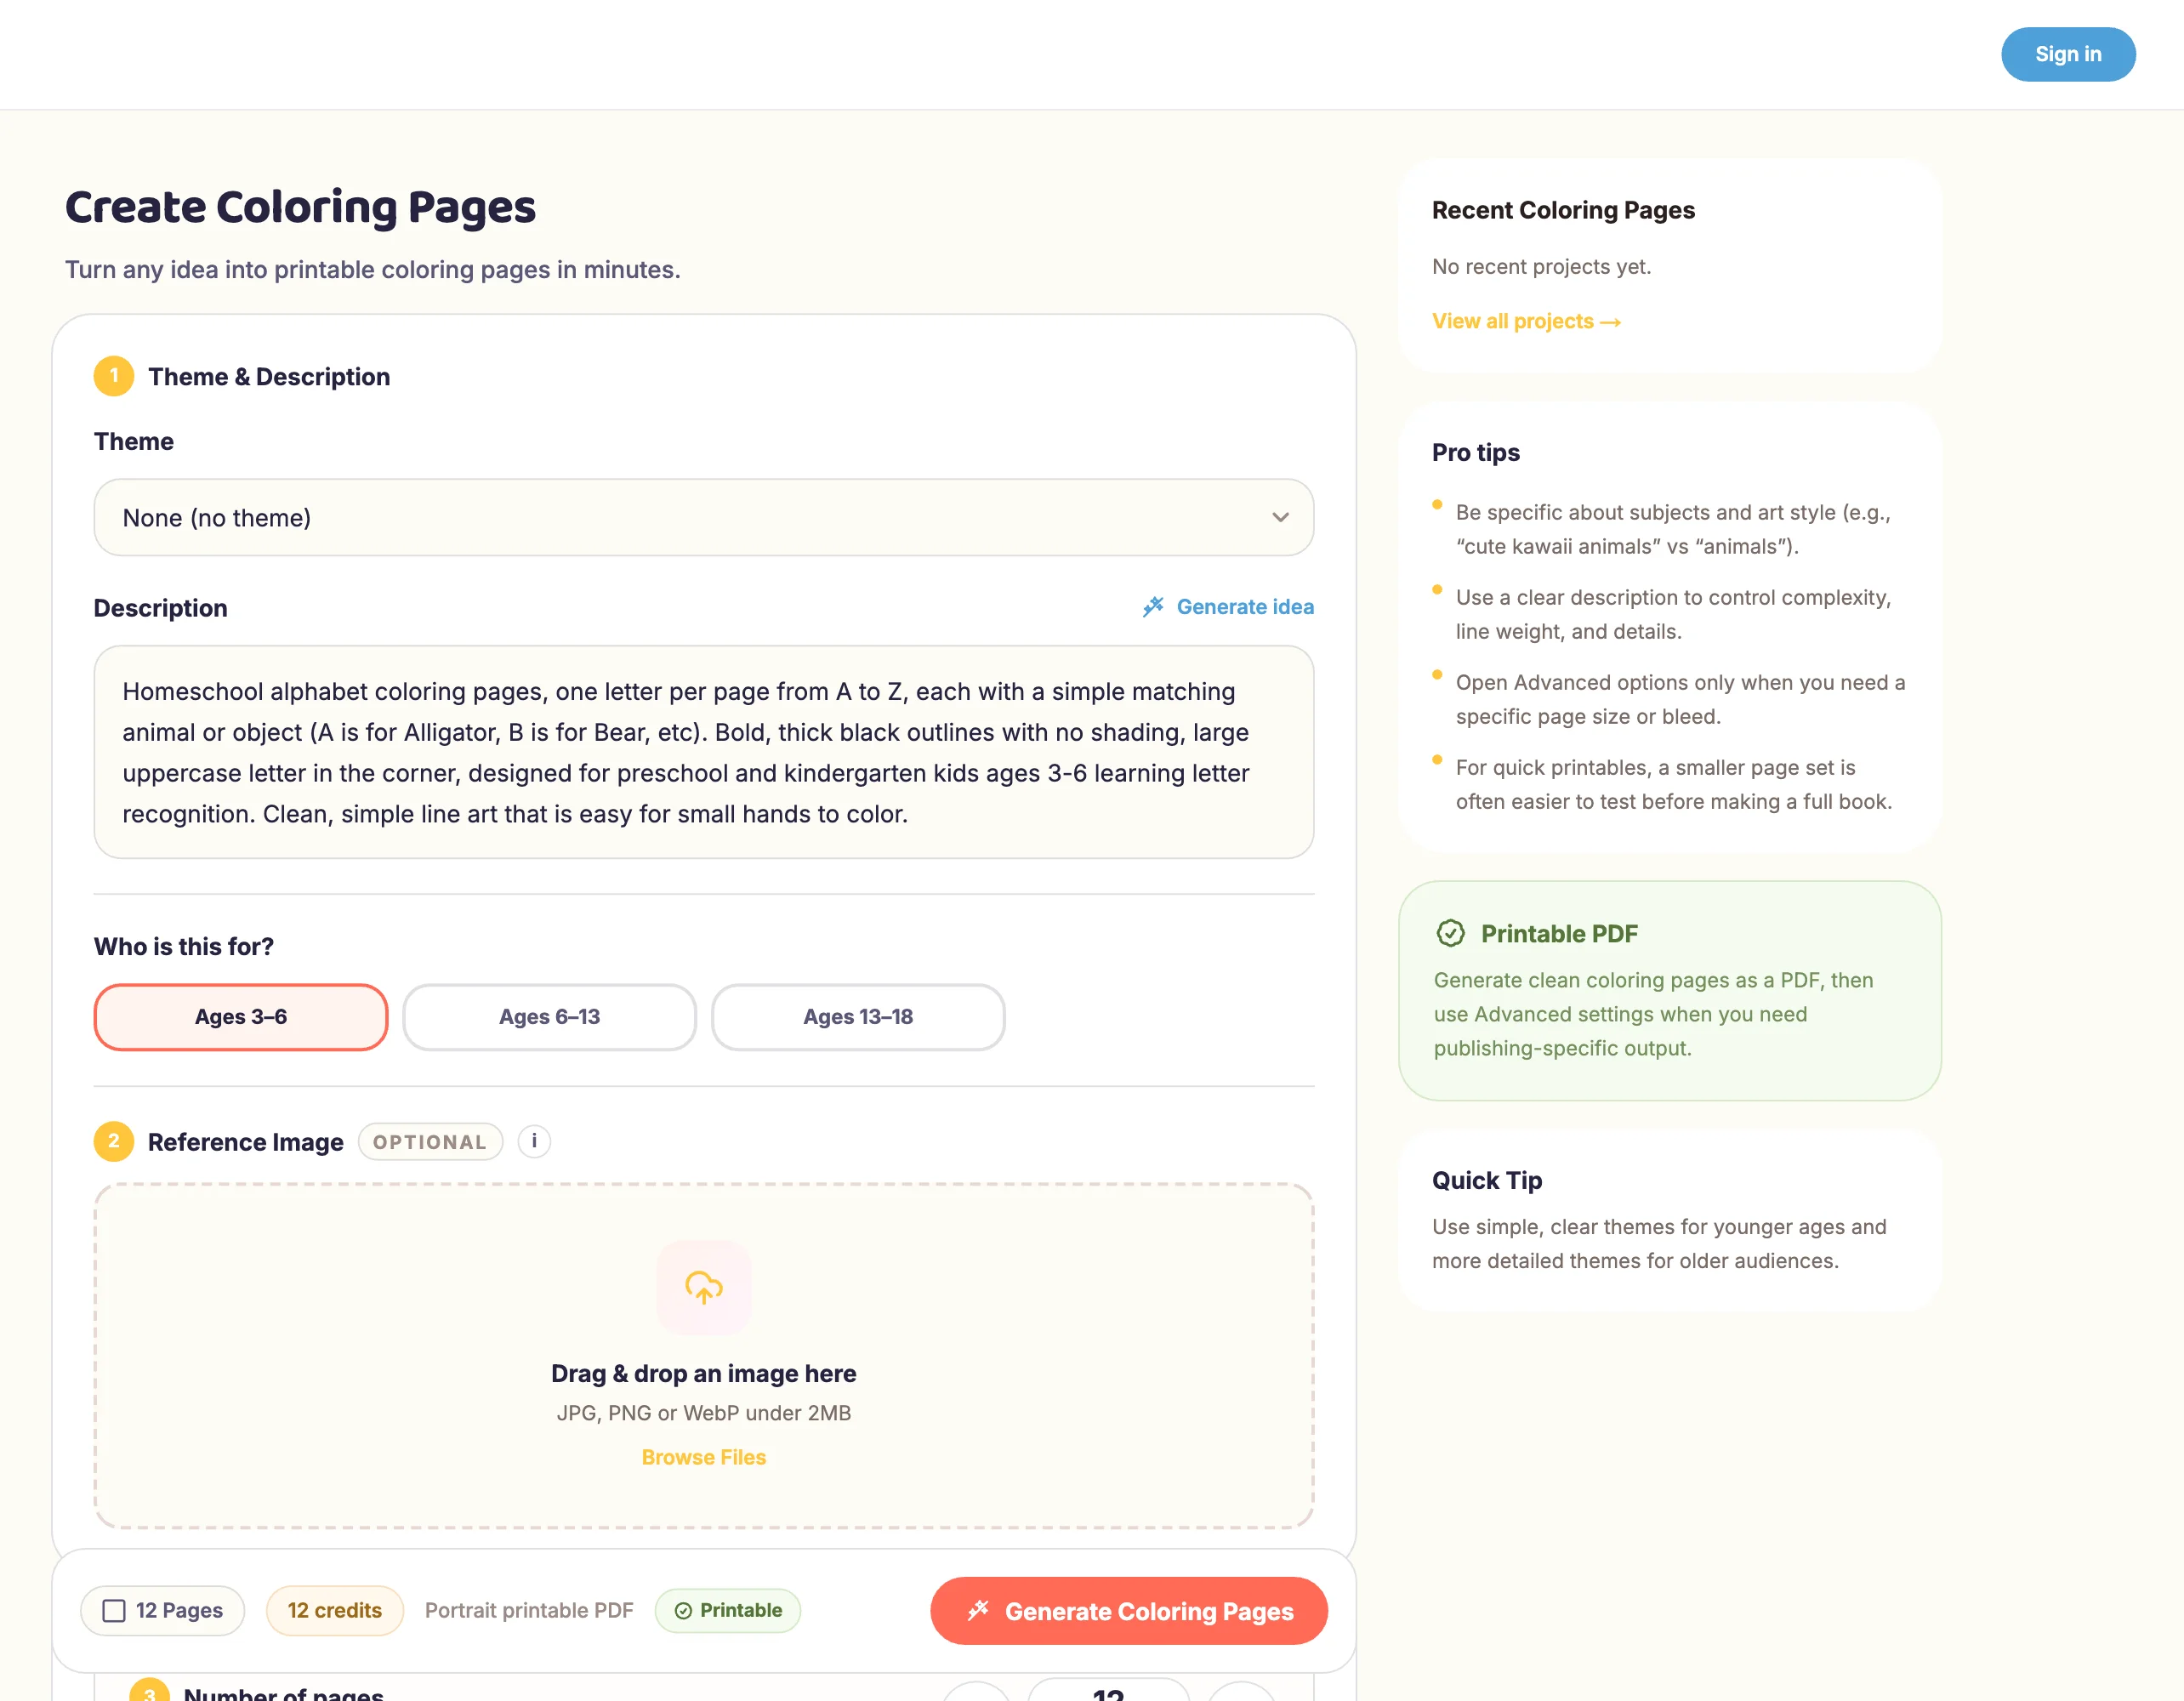
The more specific the description, the closer the first draft lands to something you can print without edits. For an alphabet book that meant spelling out the format ("A is for Alligator, B is for Bear"), the line style (bold, no shading), and the age range, which also set the audience toggle to Ages 3–6 automatically.
This same approach works for any subject. Swap the description for "counting pages with animals to count in each row, numbers 1 to 10" and you get a math-practice book instead. Swap it again for "a labeled world map with continents and a compass rose" and you get a geography page. That is exactly how the counting and world map examples further down were made.
Step 2: Set the page count and print settings
Scroll down and you will hit the Number of pages control and an Advanced options panel with the settings that matter for actually printing at home or for a co-op.
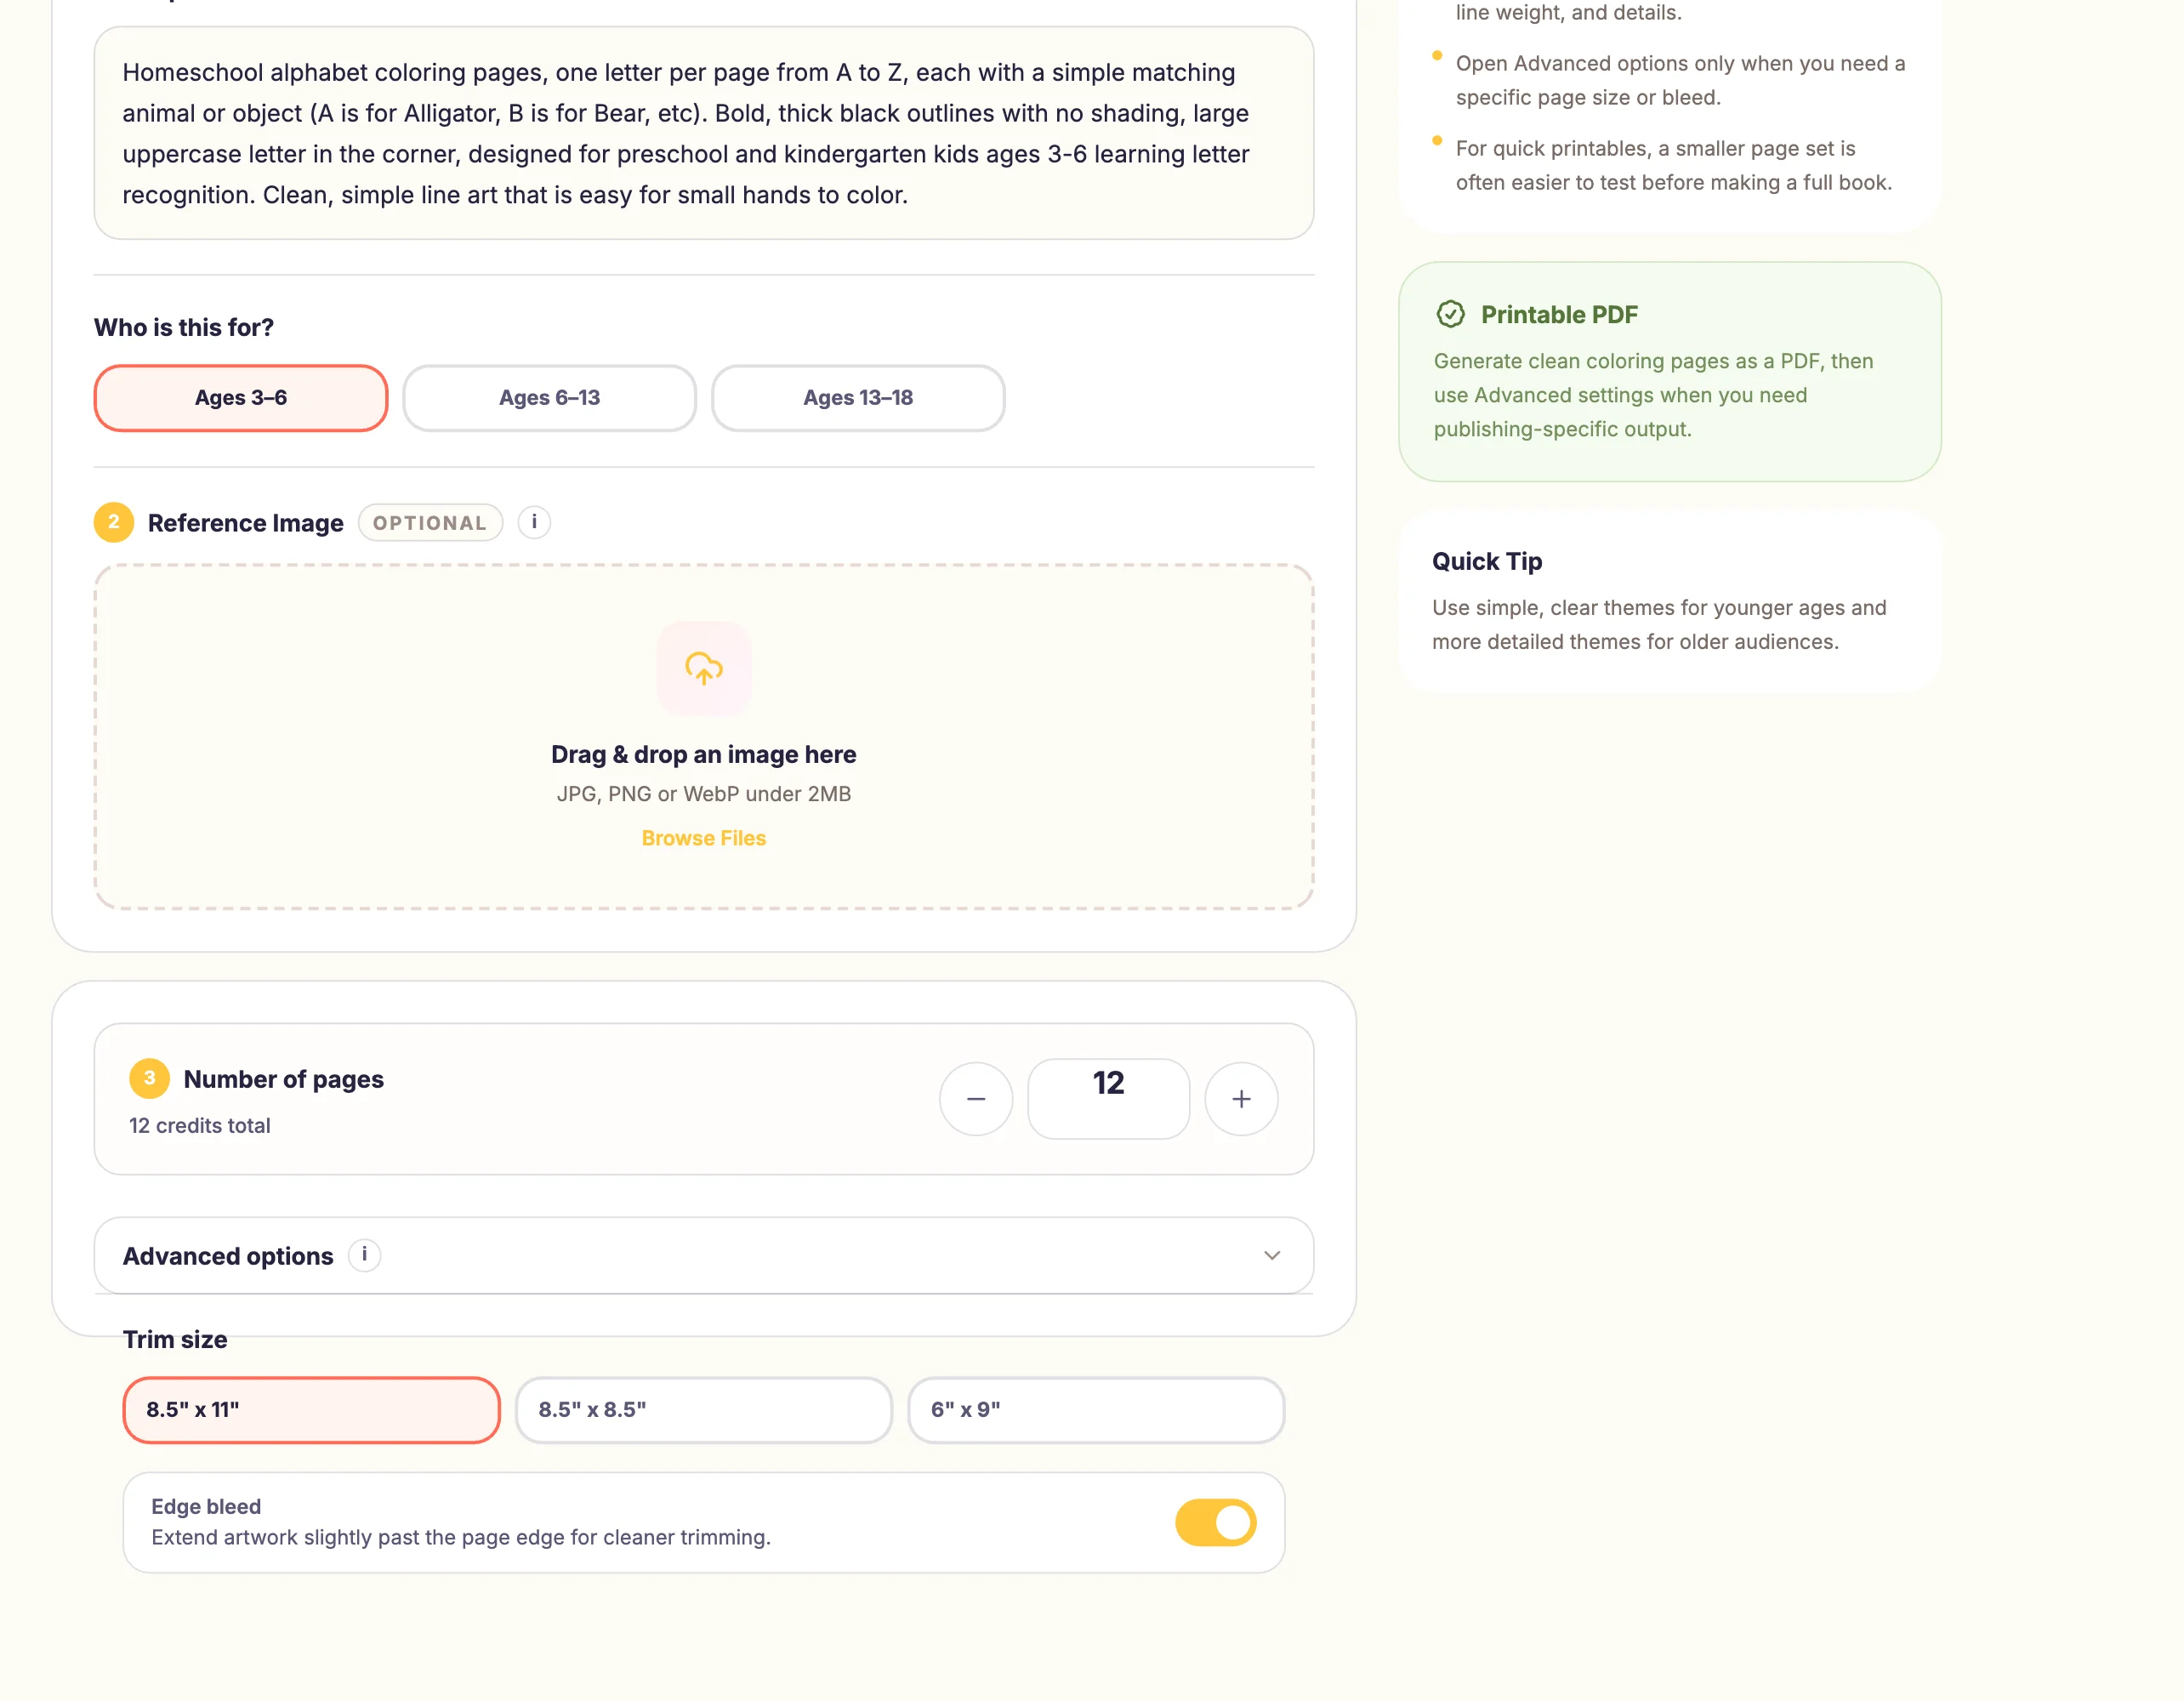
A few settings worth knowing before you generate:
- Number of pages sets how many puzzle pages you get and how many credits it costs — 12 pages is a reasonable size for a single-subject lesson book.
- Trim size defaults to 8.5" x 11", which is what you want for a standard home printer. The 8.5" x 8.5" and 6" x 9" options exist for anyone assembling a bound KDP book instead of loose printed pages.
- Edge bleed extends the artwork slightly past the page edge for cleaner trimming. Leave it off for pages you are printing at home and stapling together; it mostly matters if you are trimming pages down after printing.
Step 3: Generate and print
Once the description and page count are set, generating the book takes under a minute. The output is a print-ready PDF sized to the trim you picked, so nothing gets cut off at the edges on a standard printer.
Print single-sided if the pages will be colored in marker, so nothing bleeds through to the next page. Standard printer paper is fine for daily lesson pages; save the cardstock for pages you want to survive being handled all week.
What a finished lesson page looks like
Here is what the same approach produces across a few different subjects. Each of these started as a plain-language description, the same way the alphabet book did.
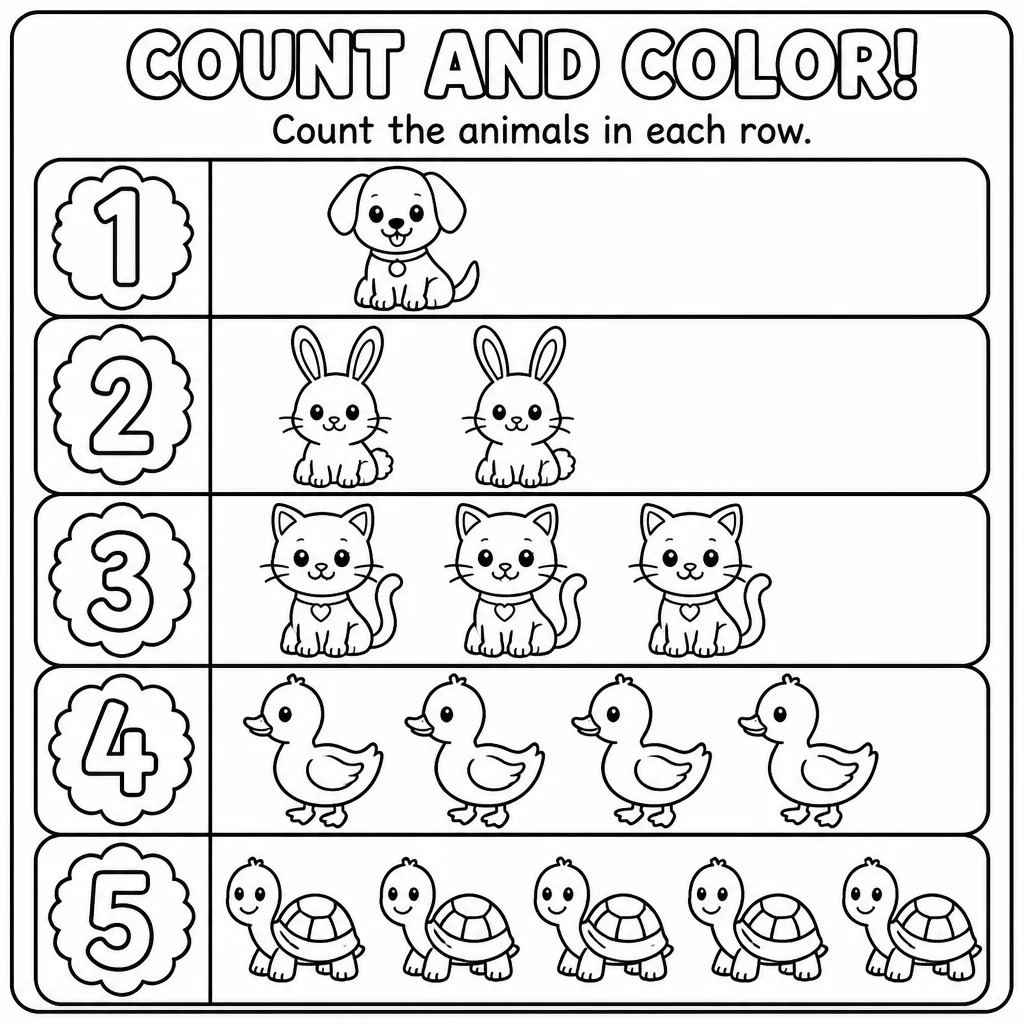
A counting page like this reinforces number recognition for kids who are past the alphabet stage but not ready for written math yet. Describing it as "count the animals in each row, numbers 1 to 5" was enough to get rows that actually match the target count.
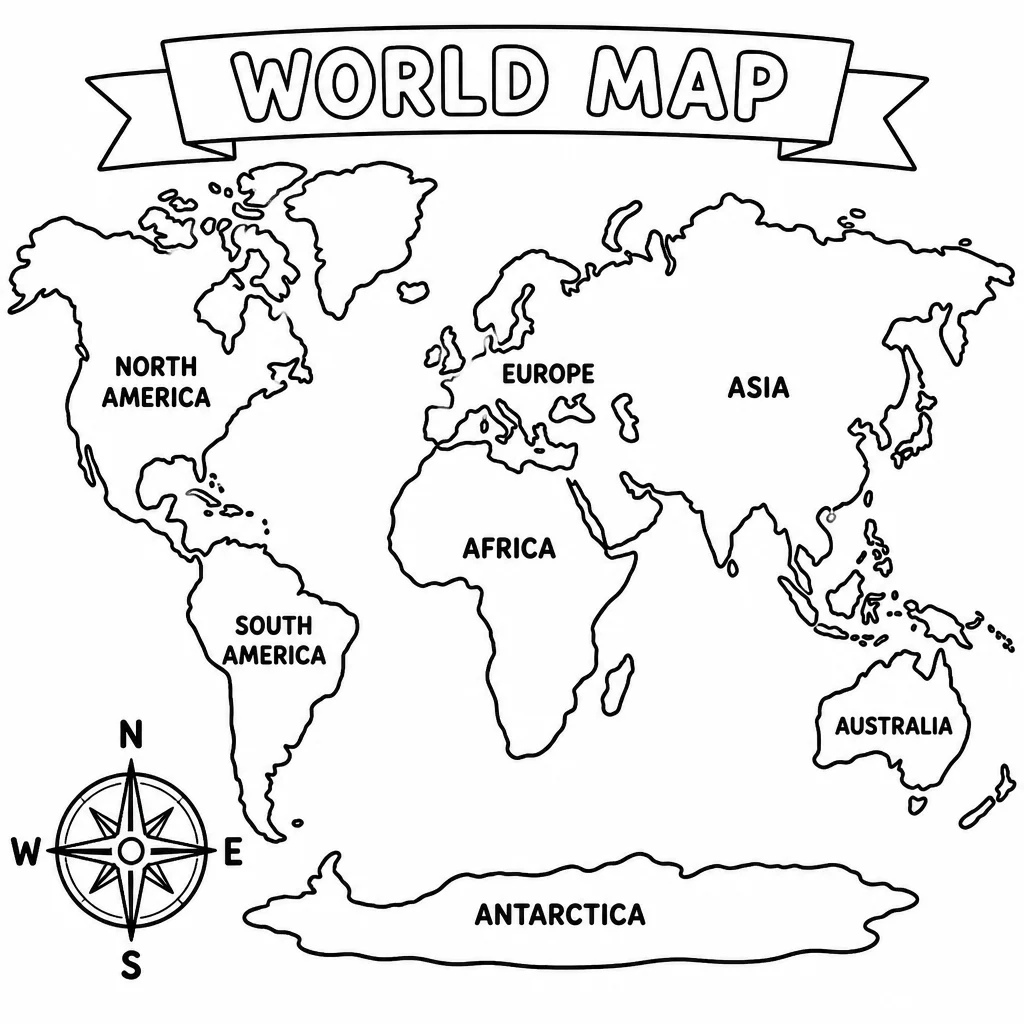
A labeled map turns geography into a coloring activity instead of a memorization drill. This one came from describing a simple world map with continent names and a compass rose, sized for the same age group as the rest of the lesson set.
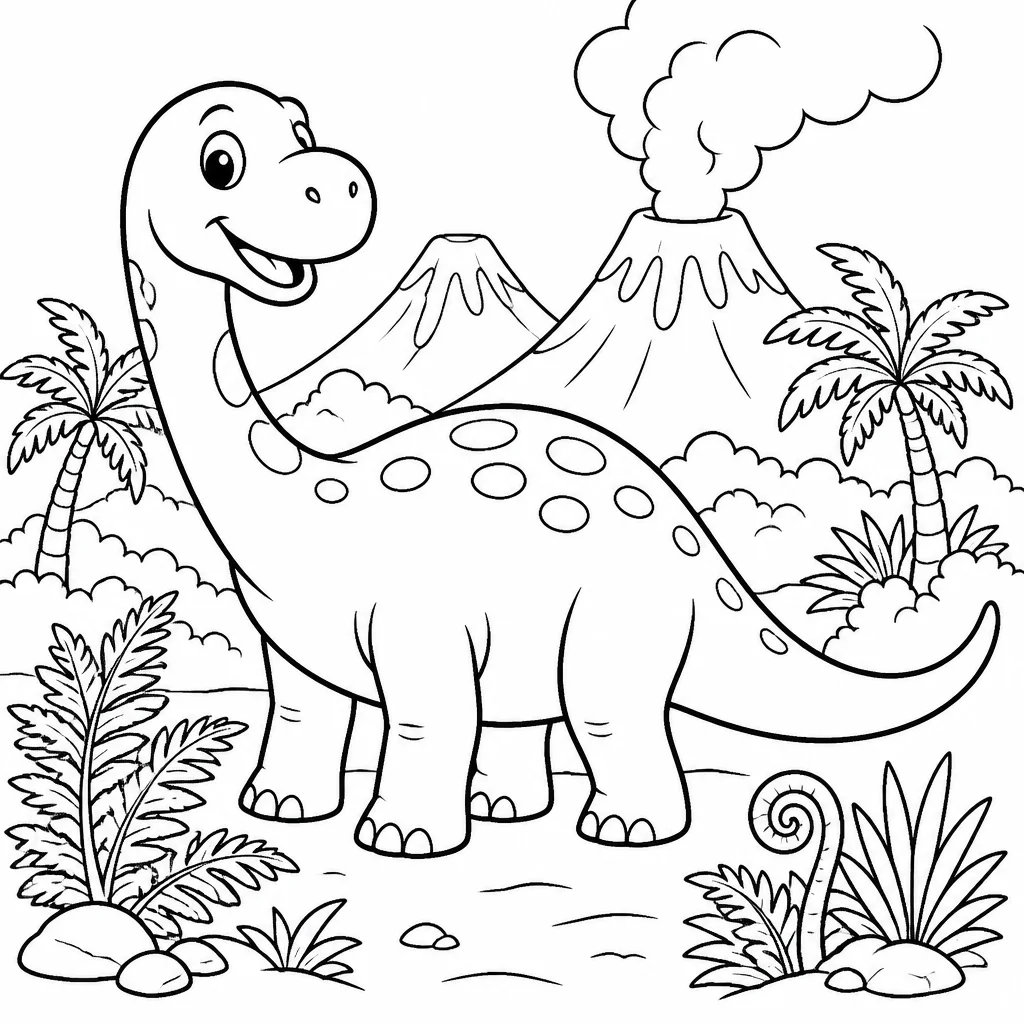
For a science unit, a themed scene works better than an isolated diagram — kids color the page and absorb the vocabulary (volcano, palm tree, era) along the way.
Building a full homeschool week around it
The reason this is worth setting up once is how fast it repeats. After the first book, you already know the description format that works for your kid's age and attention span, so a new subject is a couple of minutes of typing, not a redesign. A typical week might look like:
- Monday — alphabet or sight words
- Wednesday — counting or a math concept
- Friday — a science or geography theme tied to whatever unit you are covering
If a week also needs a puzzle-style worksheet, the same dashboard has an Activity Book creator for word search, maze, and tracing pages with an answer key included, so you can mix coloring pages and puzzles into one weekly packet. And because it is the same tool used for KDP and Etsy coloring books, nothing stops you from turning a lesson set that worked well for your own kids into something you sell to other homeschool families later.
Frequently asked questions
Do I need design experience to make homeschool coloring pages?
No. You describe the lesson in plain language — the letter, number, or subject you are covering and the age group — and the tool handles the line art, layout, and page sizing.
Can I make pages for more than one subject at once?
Each generation covers one description at a time, so the simplest approach is to generate a page set per subject (alphabet, counting, geography) and combine the PDFs, or print a page from each into one weekly packet.
What age group works best for homeschool coloring pages?
Roughly ages 3 to 10, depending on the subject and how much detail is in the description. Simple single-letter or single-number pages suit preschool and kindergarten; labeled maps and themed scenes suit early elementary kids who are already reading.
Can I reuse the same lesson pages for multiple kids or terms?
Yes. Since each book is a standard print-ready PDF, you can reprint it as many times as you want across siblings or school years at no extra cost beyond paper and ink.
Ready to build your homeschool lesson pages?
Describe the letter, number, or subject you're teaching and get a print-ready coloring book PDF sized for your printer in under a minute.
Create your first homeschool coloring book